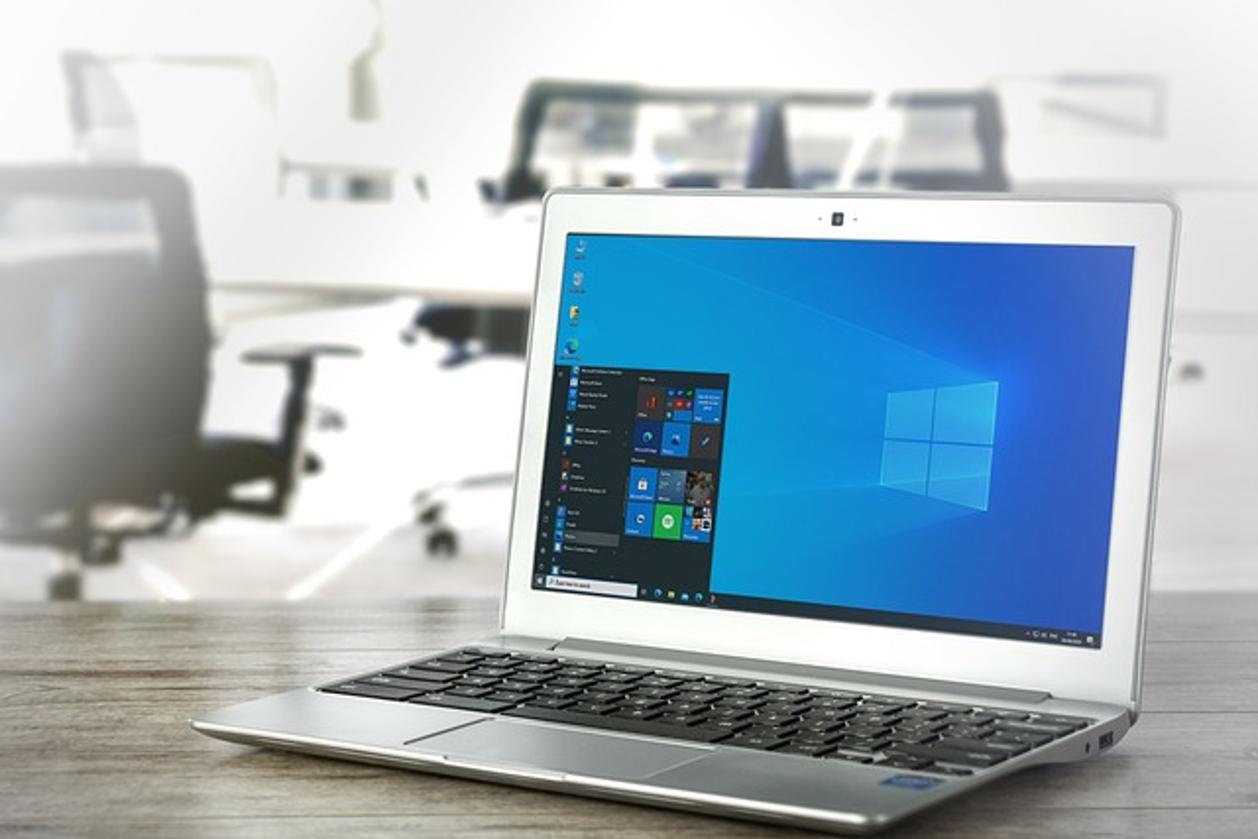
Removing Laptop from Microsoft Endpoint: A Step-by-Step Guide
Introduction
Removing a laptop from Microsoft Endpoint can seem daunting, but a systematic approach can transform it into a straightforward task. Whether you’re an IT professional or just managing devices personally, understanding the comprehensive process helps ensure data integrity and organizational compliance. This guide will walk you through each step, provide tips on preparing for the removal process, and offer troubleshooting advice for common issues.

Why Remove a Laptop from Microsoft Endpoint?
Removing a laptop from Microsoft Endpoint can become necessary for several reasons. When a device is no longer in use or being repurposed, taking it off the managed list helps maintain an accurate inventory. It’s also essential for securing sensitive data when an employee leaves the organization or the device is compromised. Properly removing such devices ensures your network remains secure and your IT infrastructure stays streamlined.
Preparing for the Removal Process
Before diving into the removal process, it's crucial to prepare adequately. Preparation ensures a smooth, disruption-free experience. Here's how you can get ready:
Backup Important Data
Ensure all critical data on the laptop is backed up. This step prevents data loss and ensures business continuity. Use cloud services or external drives to store this data securely.
Ensure Compliance with IT Policies
Check your organization’s IT policies to ensure compliance. Policies often detail the necessary steps and protocols for device removal to maintain security and privacy standards.
Acquire Necessary Permissions
Ensure you have the required permissions to remove the device from Microsoft Endpoint. Typically, this involves administrative rights and approval from relevant IT personnel. This step prevents unauthorized actions and maintains organizational protocol.

Step-by-Step Removal Process
Once you are prepared, follow these steps to remove the laptop from Microsoft Endpoint:
Accessing the Microsoft Endpoint Admin Center
- Log into your Microsoft Endpoint Admin Center: Use your administrative credentials to access the platform.
- Navigate the interface: Familiarize yourself with the dashboard to make the process flow smoothly.
Navigating to the Devices Section
- Select the 'Devices' option: On the left-hand menu, click on ‘Devices’ to view all the managed devices within your organization.
- Locate the specific device: Use the search function to find the laptop you wish to remove.
Selecting the Laptop to Remove
- Click on the device name: This action will take you to the device’s detail page where you can manage its settings.
- Review device details: Verify that the information corresponds to the laptop slated for removal to avoid errors.
Initiating and Confirming the Removal
- Initiate the removal process: Click on the ‘Remove’ or ‘Retire’ button.
- Confirm the action: A prompt will appear asking for confirmation. Confirm to proceed with the removal.
- Wait for completion: The removal process might take a few moments. Ensure the system confirms the action is completed successfully.
Post-Removal Procedures
After removing the laptop from Microsoft Endpoint, it's essential to perform several tasks to ensure everything is correctly configured:
Confirming the Device is Removed
- Check the device list: Re-access the ‘Devices’ section to ensure the laptop no longer appears on the list.
- Verify through alerts: Look for any alerts or messages from the Endpoint system confirming the removal.
Resetting the Laptop
- Perform a factory reset: Resetting the laptop wipes all data and restores it to its original state, essential for reassigning or repurposing the device.
- Reinstall operating system: If necessary, reinstall the OS to ensure it’s running the latest version and is free of any previous user data.
Reconfiguring Local Device Settings
- Set up for new user: Configure the device for the next user if it will remain in the organization.
- Customize settings: Adjust settings based on the new user’s needs and the laptop’s intended use.
Troubleshooting Common Issues
Even with careful preparation, issues can arise. Here’s how to address some common problems:
Device Not Appearing in Endpoint
Refresh the list: Sometimes a simple refresh can make the device visible.
Check connectivity: Ensure the laptop is connected to the network.
Error Messages During Removal
Read the error message carefully: It often provides specific information.
Check permissions: Ensure you have the necessary administrative rights.
Consult support: If persistent, consult Microsoft Support for guidance.
Ensuring Complete Removal
Double-check the device list: Make sure the laptop doesn’t reappear.
Review logs: Check administrative logs for any removal-related errors.
Best Practices for IT Teams
To prevent issues and streamline the removal process, consider these best practices:
Regular Audits of Managed Devices
Conduct regular audits to keep your list of managed devices up to date and ensure only necessary devices are connected to the network.
Maintaining an Updated Inventory
Use tools to keep an accurate, updated inventory of all IT assets to facilitate quick identification and management.
Training Staff on Endpoint Management
Ensure all IT personnel are well-trained in endpoint management practices, fostering a robust understanding across your team.

Conclusion
Removing a laptop from Microsoft Endpoint involves detailed steps but ensures your network’s security and organization’s efficiency. Following this guide, you can prepare adequately, execute the removal seamlessly, and handle any issues that arise.
Frequently Asked Questions
What should I do if the device does not appear in Microsoft Endpoint?
Refresh the device list and check network connectivity. If the issue persists, verify administrative rights and consult Microsoft Support.
Can I reverse the removal process if needed?
No, the removal process is not reversible. Ensure thorough preparation before confirming removal.
What are the security measures to consider post-removal?
Perform a factory reset and ensure any organizational data is securely deleted. Reconfigure settings for future use.


