Laptop screens are prone to damage due to their delicate nature. Whether it's a cracked screen, dead pixels, or backlight issues, screen problems can render your laptop almost useless. This guide provides a thorough look into diagnosing and repairing laptop screen issues, helping you decide between a DIY approach or seeking professional repair services. By understanding the steps involved and preventive measures, you can restore your laptop's functionality efficiently and extend its screen life.
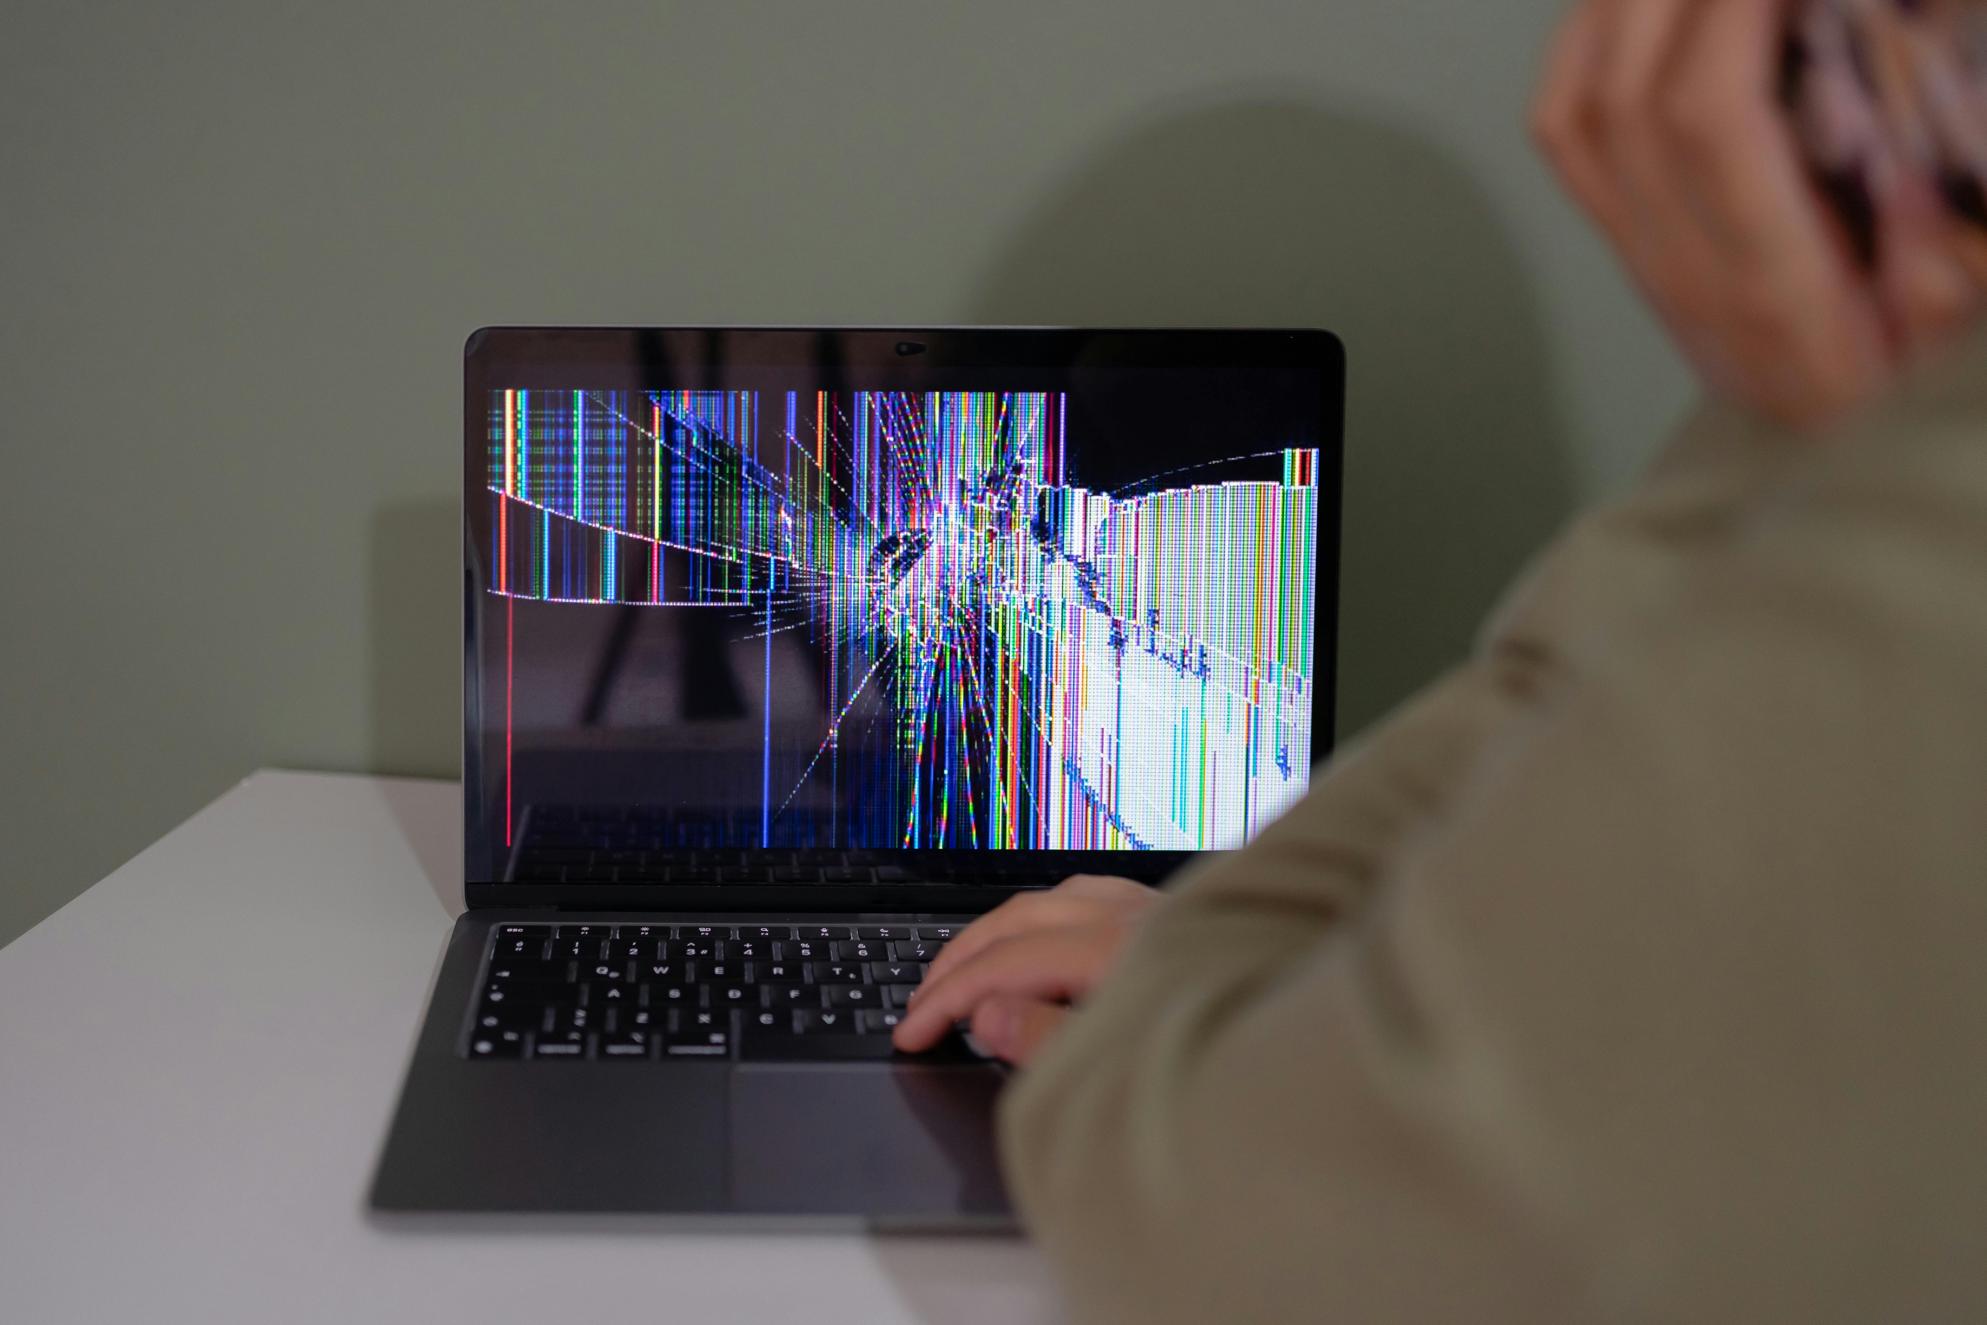
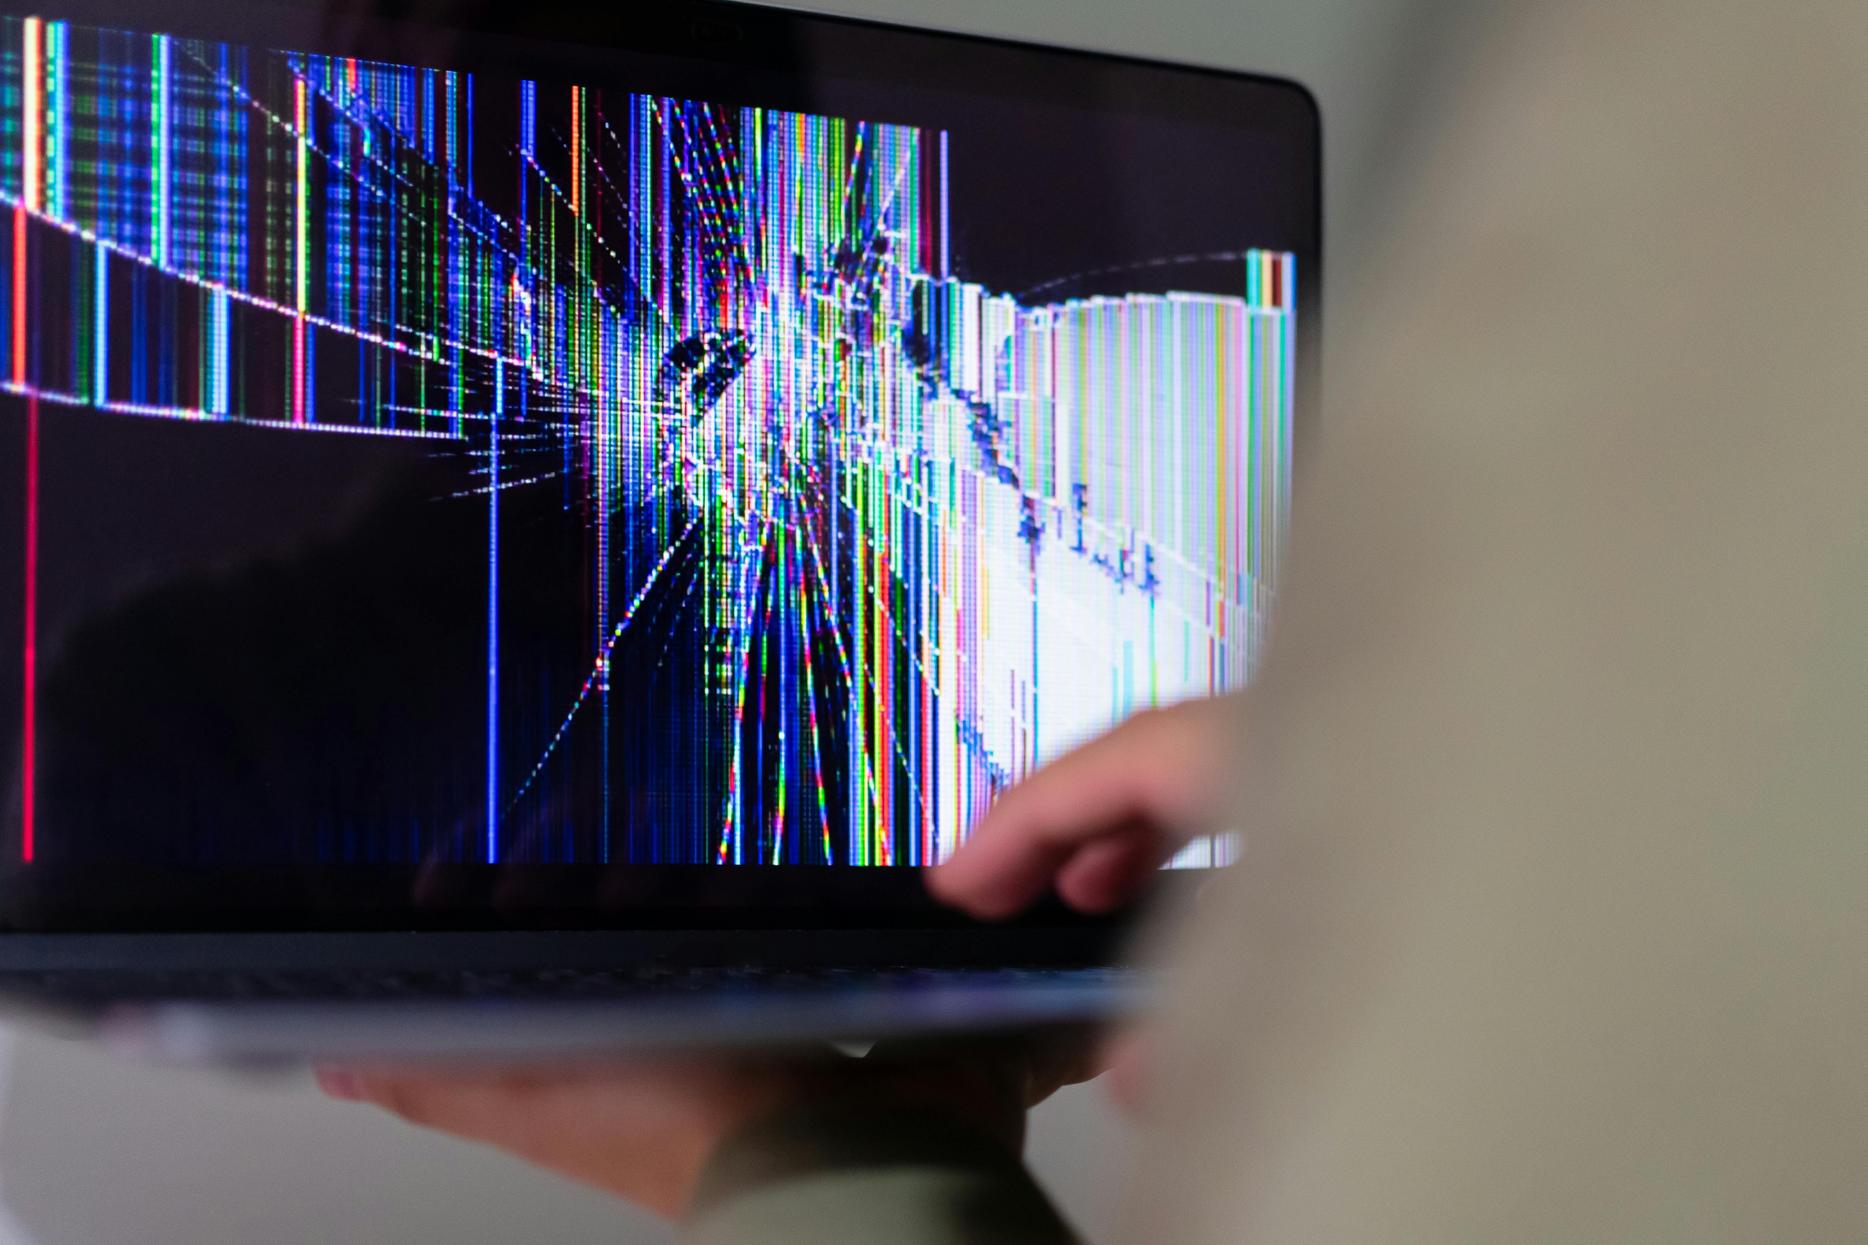
Laptop screens can experience a variety of problems, often disrupting your workflow and causing frustration. One of the most prevalent issues is a cracked or physically damaged screen, usually caused by accidental drops or excessive pressure. Dead or stuck pixels are another common problem where certain pixels on the screen do not display correctly, resulting in small dots of color or black spots. Additionally, screen flickering or backlight issues can stem from hardware malfunctions or loose connections, leading to inconsistent brightness and visual discomfort.
Understanding these common problems is crucial for effective diagnosis and repair. Physical damage requires immediate attention, as further use can exacerbate the issue. Dead pixels might seem minor but can spread over time, while flickering screens not only impair visibility but also indicate deeper hardware problems. Addressing these issues promptly is essential for maintaining your laptop's performance.
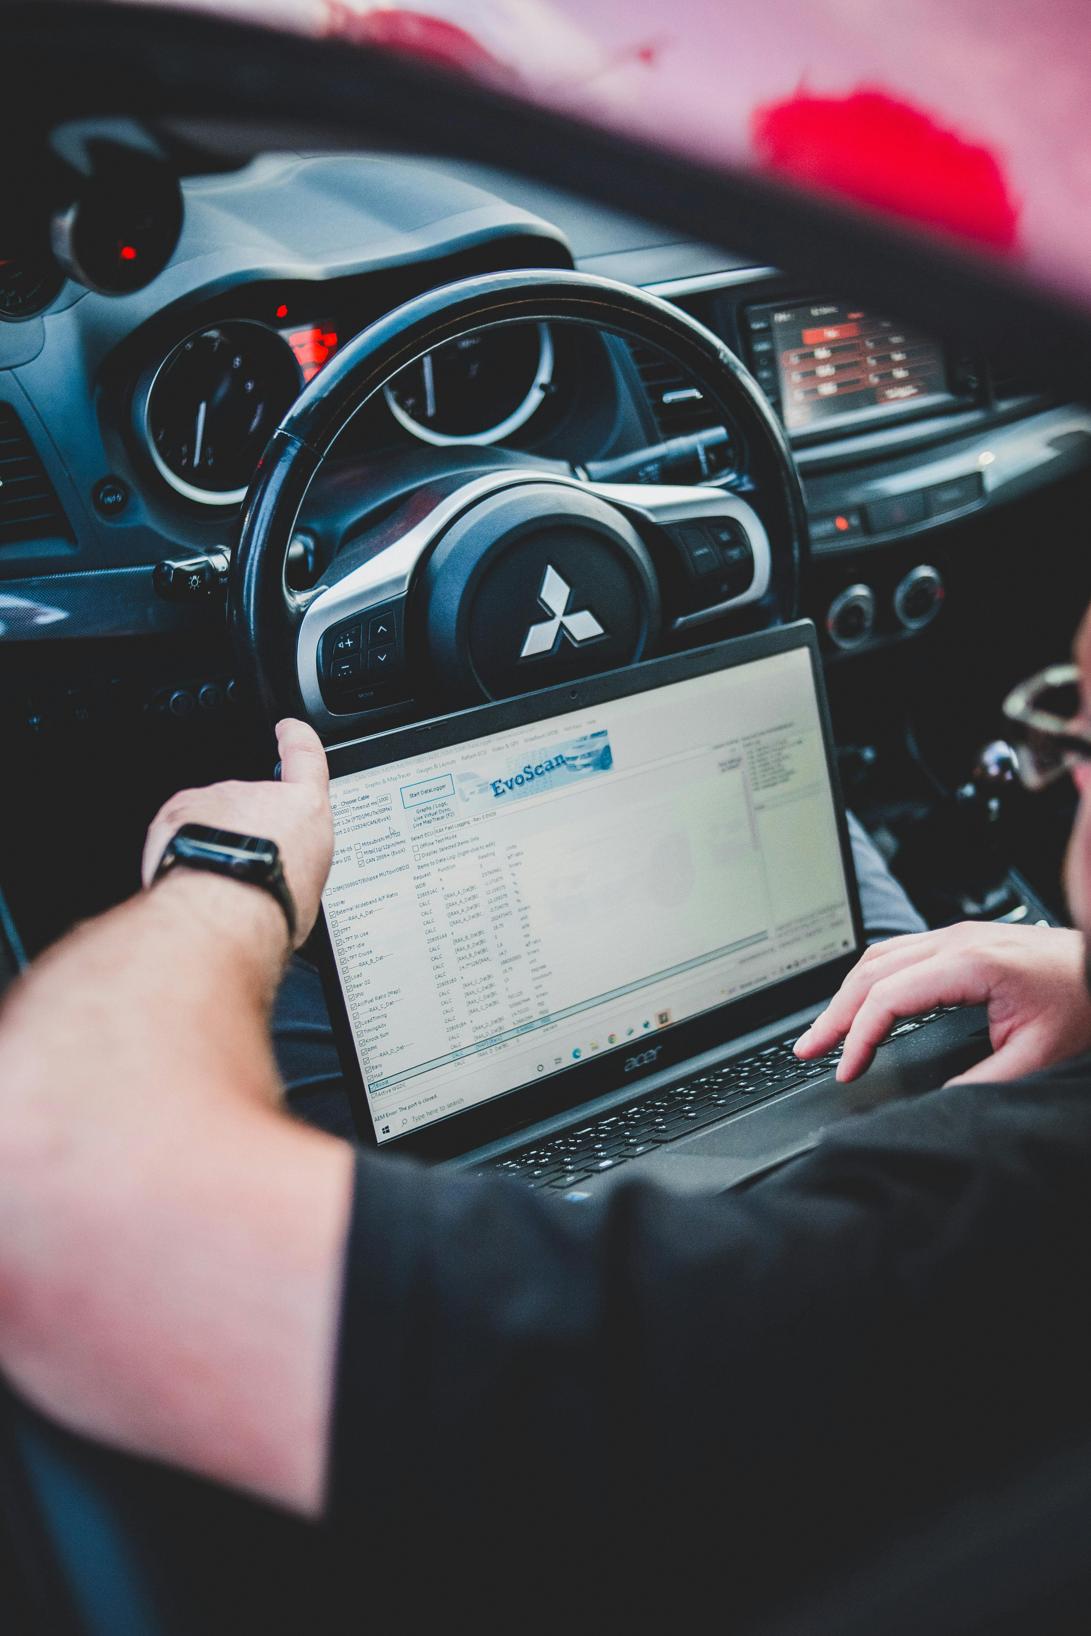
Accurately diagnosing laptop screen issues ensures that you're addressing the correct problem, whether opting for a DIY repair or professional service. Start by examining the screen for visible damage such as cracks or dents. If the screen appears intact but displays issues, perform a functionality test by connecting your laptop to an external monitor. If the external display works correctly, the issue likely lies with the internal screen or its connections.
Checking for dead pixels involves displaying a solid color background and closely inspecting the screen for tiny dots that do not change color. Flickering screens may require opening and reseating the laptop's video cable, as loose connections are a common cause. Understanding the nature of the problem helps in deciding the best course of action, saving both time and resources.
When faced with laptop screen issues, you have the option to either attempt a DIY repair or seek professional help. Each approach has its own set of benefits and considerations.
A do-it-yourself repair can be cost-effective, eliminating labor charges associated with professional services. DIY repairs also provide the satisfaction of resolving the issue independently. Access to online resources and guides makes it feasible for tech-savvy individuals to undertake these repairs, provided they have the necessary tools and patience.
Professional repair services are recommended for complex issues or if you're not confident in your technical skills. Professionals possess the expertise to diagnose and fix problems accurately without causing further damage. Additionally, many repair services offer warranties, providing peace of mind and guaranteed results.
Cost is a significant factor in deciding between DIY and professional repair. DIY repairs generally involve the cost of parts and tools, which can vary based on the laptop model and screen type. On the other hand, professional services include both parts and labor charges, often resulting in higher overall costs. However, the reliability and potential warranty can justify the expense for many users.
Embarking on a DIY screen repair requires careful preparation and adherence to steps to ensure a successful fix.
Maintaining your laptop screen's health is essential for prolonged usage. Implementing preventive measures can help avoid common issues.
Invest in high-quality screen protectors to shield your laptop screen from scratches and minor damages. Screen protectors are an affordable way to extend your screen's life, especially if you frequently travel with your laptop.
Always handle your laptop with care, avoiding excessive pressure on the screen. Use a well-padded laptop bag to protect your device from potential impacts and drops.
Perform regular cleaning of your laptop screen using a microfiber cloth and appropriate cleaning solutions. Avoid using harsh chemicals that can damage the screen's coating. Regular maintenance ensures a clear and vibrant display.
Laptop screen repair can seem daunting, but with the right guidance and tools, it's achievable. Whether you choose a DIY approach or seek professional help, understanding the process is crucial. By taking preventive measures, you can prolong your laptop screen's life and avoid frequent repairs. Stay informed and follow this guide to keep your laptop in top condition.
The cost of repairing a laptop screen can range from $100 to $300, depending on the model and the type of damage.
Fixing a laptop screen is often worth it, especially if the device is relatively new and in good condition. It's a cost-effective alternative to purchasing a new laptop.
A laptop screen repair typically takes between one to two hours for professionals. DIY repairs might take longer, depending on your experience and comfort with the process.